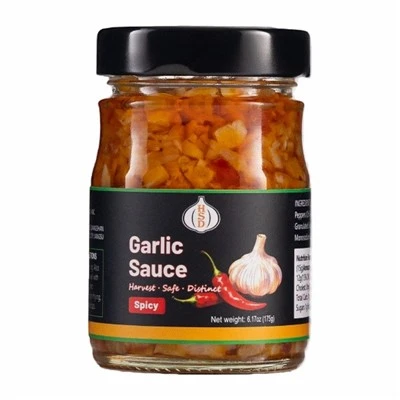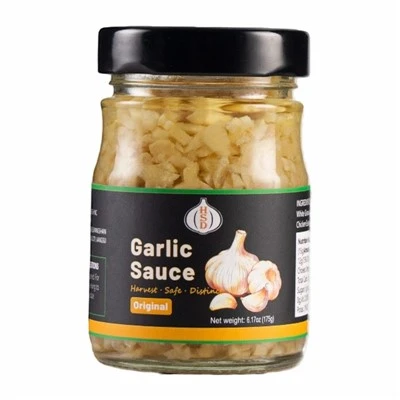

Pickling garlic in a pressure cooker is an efficient and effective way to preserve this pungent bulb while enhancing its flavor. As a supplier of pickled garlic, I've had the pleasure of exploring various pickling methods, and using a pressure cooker stands out as a game - changer. In this blog, I'll share the step - by - step process of pickling garlic in a pressure cooker, along with some tips and tricks to ensure a delicious outcome.
Why Use a Pressure Cooker for Pickling Garlic?
Using a pressure cooker for pickling garlic offers several advantages. First, it significantly reduces the pickling time. Traditional pickling methods can take days or even weeks for the flavors to fully develop, but a pressure cooker can achieve similar results in a matter of minutes. The high pressure and steam inside the cooker help to quickly infuse the garlic with the pickling solution, speeding up the pickling process.
Second, the pressure cooker creates a sealed environment that helps to maintain the freshness and texture of the garlic. The garlic retains its crunch and doesn't become overly soft or mushy, which is a common issue with long - term pickling in jars.
Ingredients and Equipment
Before you start pickling garlic in a pressure cooker, you'll need to gather the following ingredients and equipment:
Ingredients
- Garlic cloves: Choose fresh, firm garlic cloves. You can use whole cloves or peeled cloves, depending on your preference.
- Pickling liquid: The pickling liquid can be made from a variety of ingredients. A basic pickling liquid consists of vinegar (such as white vinegar, apple cider vinegar, or rice vinegar), water, salt, and sugar. You can also add spices like peppercorns, mustard seeds, or bay leaves for extra flavor.
- Optional flavorings: You can add other flavorings to the pickling liquid, such as herbs (like thyme or rosemary), chili peppers, or even fruits (like lemon slices).
Equipment
- Pressure cooker: Make sure your pressure cooker is in good working condition and has a pressure - release valve.
- Measuring cups and spoons: To measure the ingredients accurately.
- Knife and cutting board: To prepare the garlic and any other ingredients.
- Jars: Clean, sterilized jars with tight - fitting lids to store the pickled garlic.
Step - by - Step Process
Step 1: Prepare the Garlic
Start by peeling the garlic cloves. You can do this by placing the cloves on a cutting board and gently pressing down on them with the flat side of a knife. This will loosen the skin, making it easier to peel. If you prefer, you can leave the cloves whole or cut them in half or quarters.
Step 2: Prepare the Pickling Liquid
In a medium saucepan, combine the vinegar, water, salt, and sugar. Bring the mixture to a boil over medium - high heat, stirring constantly until the salt and sugar are dissolved. If you're using spices or other flavorings, add them to the saucepan at this time. Once the mixture has boiled, remove it from the heat and let it cool slightly.
Step 3: Load the Pressure Cooker
Place the peeled garlic cloves in the pressure cooker. Pour the cooled pickling liquid over the garlic, making sure the cloves are completely submerged. You can also add any additional flavorings, such as herbs or chili peppers, directly to the pressure cooker.
Step 4: Seal the Pressure Cooker
Close the pressure cooker lid and make sure it is properly sealed. Set the pressure cooker to the appropriate pressure setting for pickling. Most pressure cookers have a "low" or "pickling" setting, which is suitable for this process.
Step 5: Cook the Garlic
Once the pressure cooker has reached the desired pressure, start the timer. The cooking time will depend on the size of the garlic cloves and the type of pressure cooker you're using. Generally, pickling garlic in a pressure cooker takes about 5 - 10 minutes.
Step 6: Release the Pressure
After the cooking time is up, turn off the heat and let the pressure cooker release the pressure naturally. This usually takes about 10 - 15 minutes. Once the pressure has been fully released, carefully open the pressure cooker lid.
Step 7: Transfer the Garlic to Jars
Using a slotted spoon, transfer the pickled garlic cloves to the sterilized jars. Pour the pickling liquid over the garlic, leaving about 1/2 inch of headspace at the top of the jar. Seal the jars tightly with the lids.
Step 8: Store the Pickled Garlic
Let the pickled garlic cool to room temperature before storing it in the refrigerator. The garlic will continue to develop flavor over time, and it can be stored in the refrigerator for several months.
Tips and Tricks
- Use fresh ingredients: Fresh garlic and high - quality pickling ingredients will result in a better - tasting pickled garlic.
- Adjust the pickling liquid: You can adjust the ratio of vinegar, water, salt, and sugar in the pickling liquid to suit your taste preferences. If you like a more acidic pickled garlic, use more vinegar. If you prefer a sweeter flavor, add more sugar.
- Experiment with flavors: Don't be afraid to experiment with different spices and flavorings in the pickling liquid. You can create unique and delicious pickled garlic flavors by adding ingredients like ginger, cinnamon, or honey.
Our Pickled Garlic Products
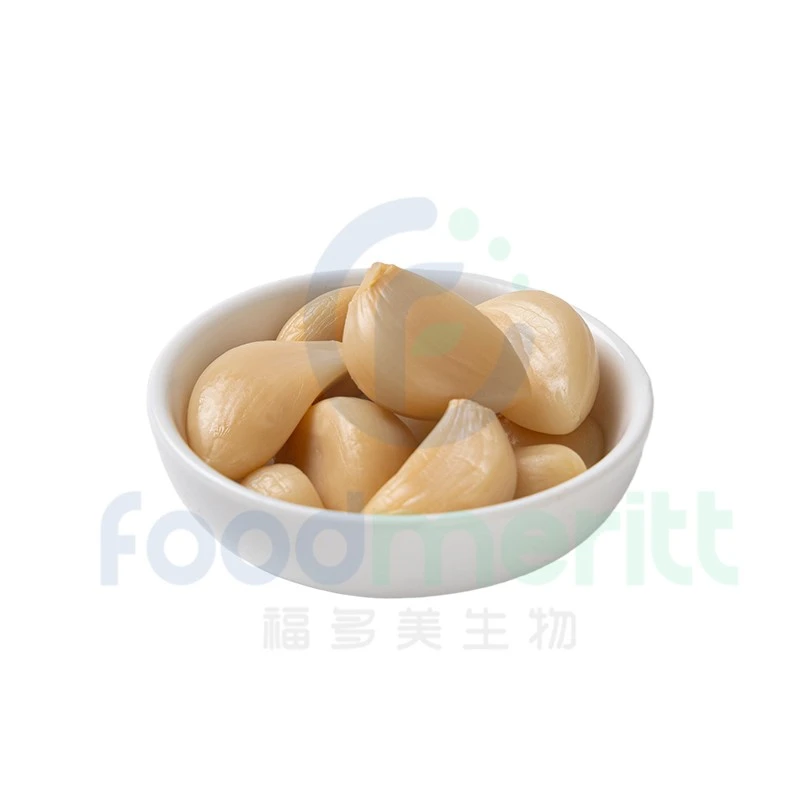
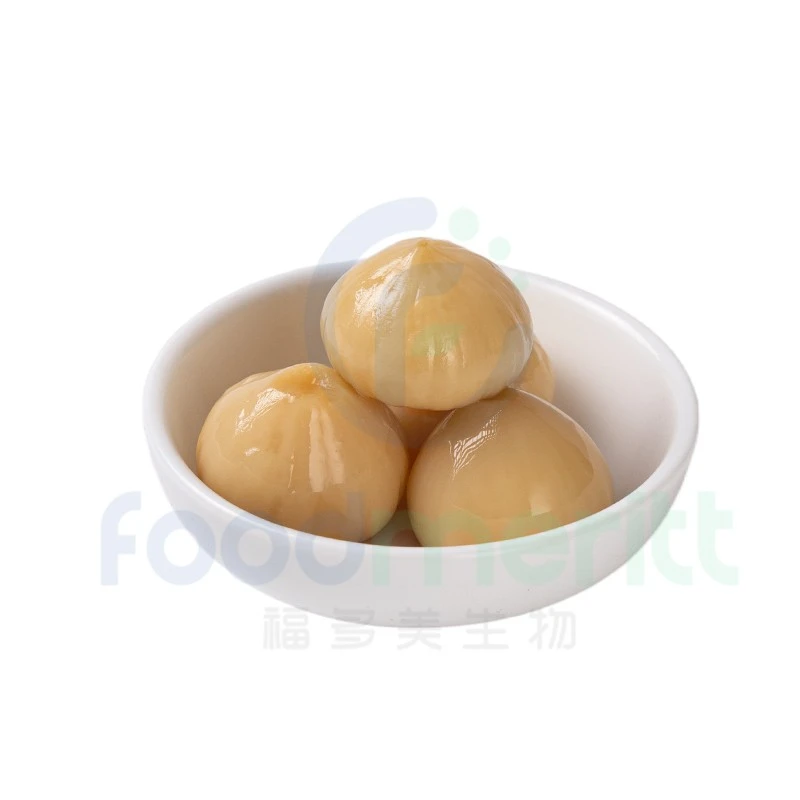
As a pickled garlic supplier, we offer a variety of pickled garlic products to meet different taste preferences. You can check out our Pickled Garlic, which is pickled using a classic recipe for a traditional flavor. For those with a sweet tooth, our Pickled Garlic with Osmanthus Honey combines the pungency of garlic with the sweet aroma of osmanthus honey. And if you like a bit of tang, our Pickled Garlic Sweet and Sour is the perfect choice.
Contact for Purchase
If you're interested in purchasing our pickled garlic products or have any questions about pickling garlic in a pressure cooker, feel free to reach out to us. We're always happy to discuss potential business opportunities and help you find the right pickled garlic products for your needs.
References
- Ball Blue Book Guide to Preserving.
- The Joy of Pickling by Linda Ziedrich.